
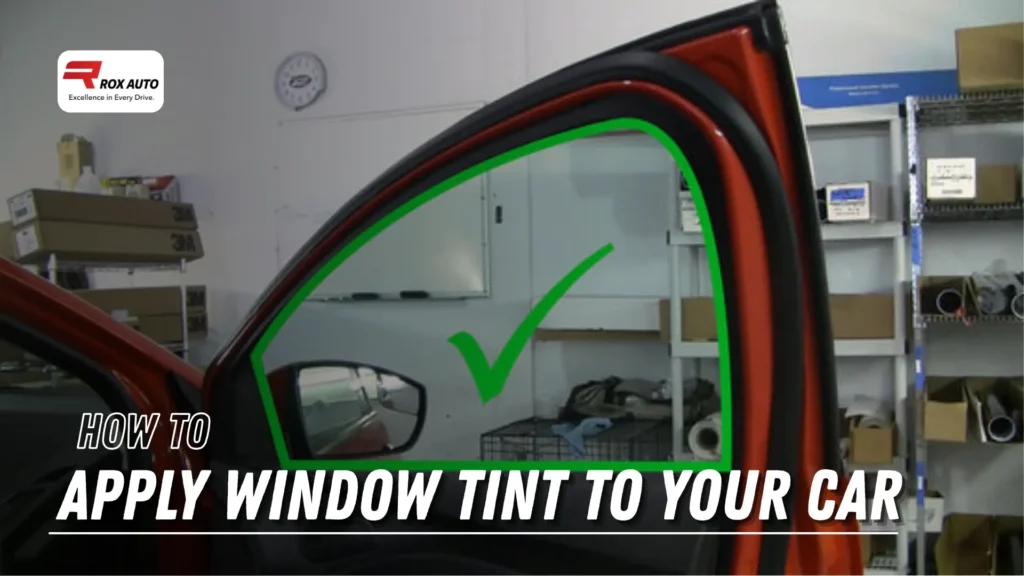
How to Apply Window Tint to Your Car: A Step-by-Step Guide
Window tinting can make your car look sleek and stylish, while also protecting it from the sun’s harmful UV rays. It helps to reduce heat inside the car, keep the interior cooler, and protect the upholstery from fading. It also improves privacy and reduces glare while driving. If you’ve ever wondered how to apply window tint to your car yourself, this guide will walk you through it step by step.
Why Should You Tint Your Car Windows?
Before getting started with car window tinting, it’s important to understand the benefits it offers. UV protection is a major advantage, as tinted windows block harmful rays that can damage your skin and cause your car’s seats and dashboard to crack or fade over time. Heat reduction is another benefit, keeping the interior cooler and more comfortable on hot days. Tinted windows also provide privacy, making it harder for others to see inside your vehicle, and help with glare reduction, minimizing the sun’s and other vehicles’ headlights to make driving safer and more comfortable.
Materials and Tools You’ll Need
To successfully apply window tint, it’s important to have all the necessary materials and tools ready to ensure a smooth and efficient process. You’ll need window tint film, choosing from options like dyed, metalized, or ceramic, with ceramic providing the best heat and UV protection. A squeegee is essential for smoothing out the film and removing air bubbles, while a razor blade or utility knife helps trim excess film for a perfect fit. A spray bottle with a water-and-soap solution makes it easier to position the tint, and microfiber cloths are needed to clean the windows and wipe away excess solution. Measuring tape ensures accurate sizing of the film, and a heat gun or hair dryer can be used on some films to help them conform to curved windows. Having all these tools on hand makes the tinting process faster, easier, and more precise.
Step-by-Step Guide to Applying Window Tint
Now that you have all your materials, let’s dive into the step-by-step process of applying window tint to your car windows. And if you ever need to take it off, here’s our guide on how to remove tint from car windows.
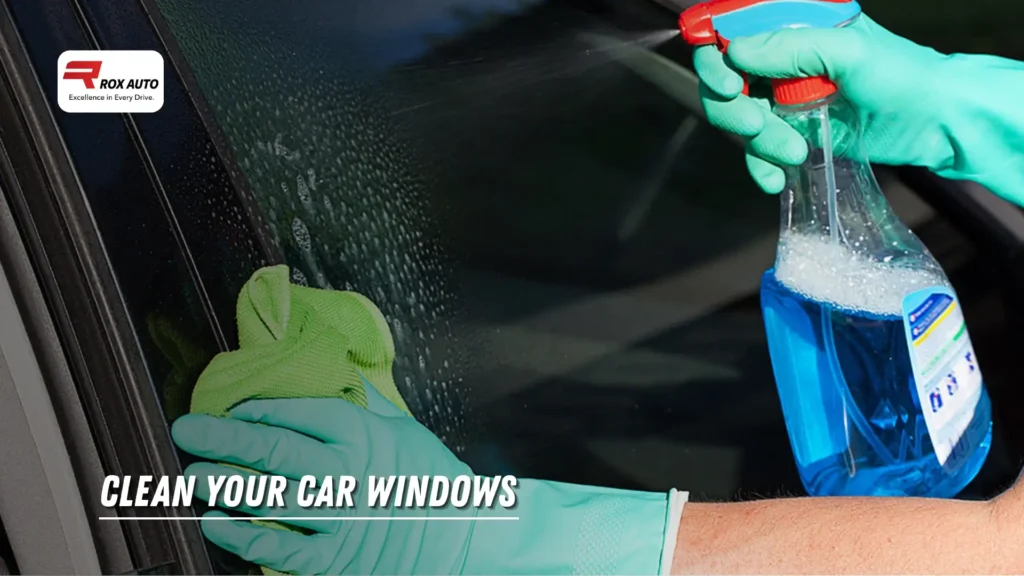
Step 1: Clean Your Car Windows Thoroughly
Before you start applying the tint, the first thing you need to do is clean the windows. Any dirt, dust, or grease left on the window will cause air bubbles and wrinkles in the tint film. This step is important to get the best final results. Spray a mixture of water and dish soap onto the windows and wipe them down with a microfiber cloth. Make sure to clean all edges and corners. If your windows are really dirty, you should repeat this process. The cleaner the window, the better the tint will adhere.
Step 2: Measure and Cut the Tint Film
Once your windows are clean and dry, it’s time to measure and cut the tint film. Use a measuring tape to determine the size of your car window. Add a couple of extra inches to the width and height to make sure you have enough film to cover the entire window.
Next, use your scissors or you can use a utility knife to cut the tint film to the correct size. It’s better to cut the film a little larger than needed, as you can always trim off the excess after it’s applied.
Step 3: Apply the Tint Film to the Window
Now, take the tint film and carefully peel off the backing. Be careful not to let the sticky side touch anything, because it is prone to dirt and damage. Once the backing is removed, carefully place the tint film onto the wet window. You should start from one edge.
Make sure the film is positioned properly while you leave a little bit of extra film on all sides. You can use the spray bottle to keep the film wet as you adjust it. You can take your time to get the film aligned correctly. Don’t rush on this step because it can lead to poor quality.
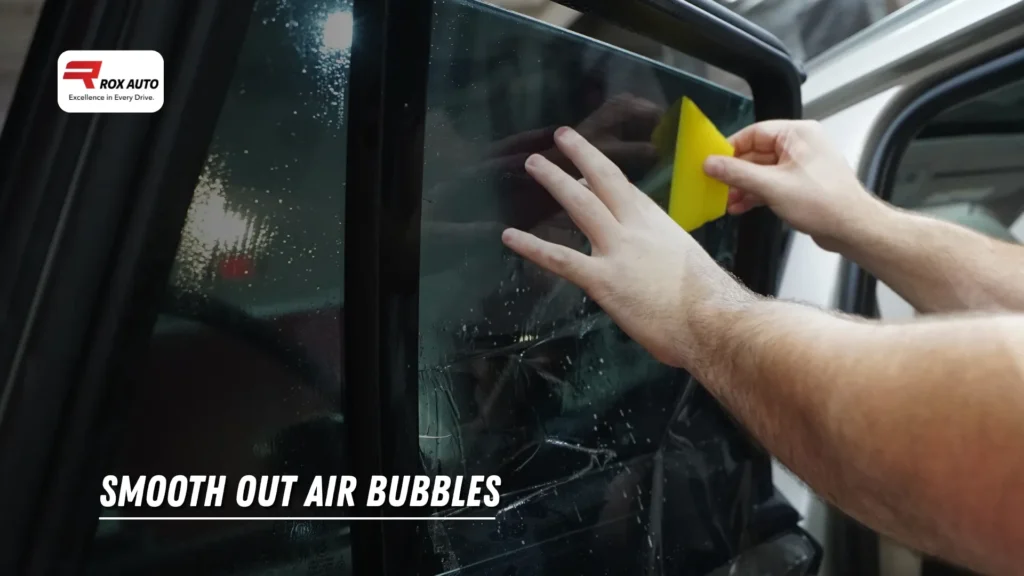
Step 4: Smooth Out Air Bubbles
Once the tint film is in place, it’s time to smooth out any air bubbles. Use a squeegee to gently push the bubbles from the center of the window towards the edges. It will remove the air and ensure the film sticks properly. Be gentle with the squeegee, especially around the edges, to avoid damaging the tint film. If you notice any stubborn bubbles, use a pin to puncture the bubble and then push the air out with the squeegee.
Step 5: Trim the Excess Film and Heat the Tint Optional
After the tint film is smoothed out and free of bubbles, it’s time to trim the excess film. Use a razor blade to cut along the edges of the window carefully. Be sure to cut neatly, leaving a small amount of extra film to ensure a clean edge. Take your time with this step to ensure the trim is even all around the window. You can also use the squeegee to press the edges down as you cut to make sure the film stays in place. This step is optional, but it can help the tint film stick better and conform to the shape of the window. If your car has curved windows, use a heat gun or hair dryer to warm up the tint film. Hold the heat source a few inches away from the tint and move it back and forth. Don’t overheat the film, as this could cause it to bubble and peel. The heat will help the tint film mold to the window and stay in place more securely.